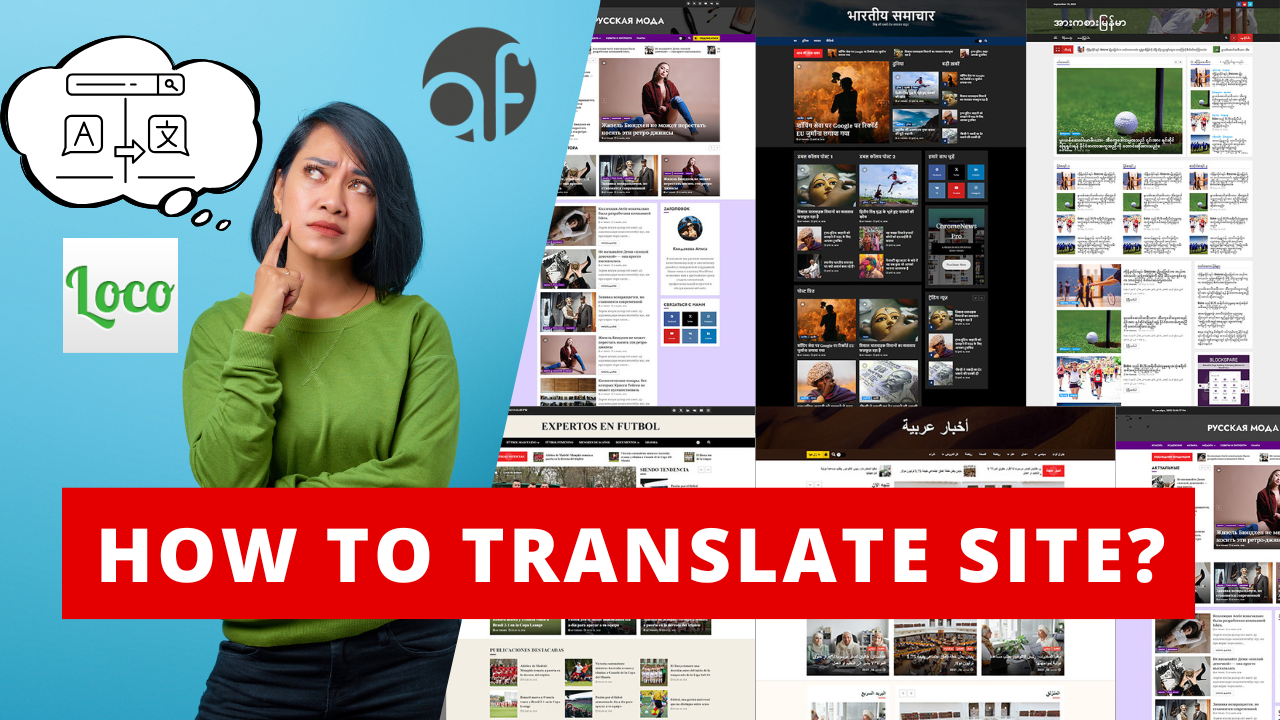
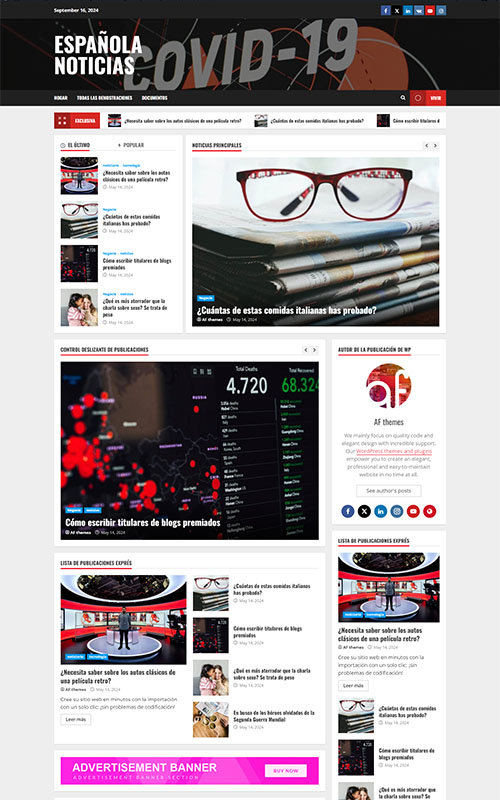
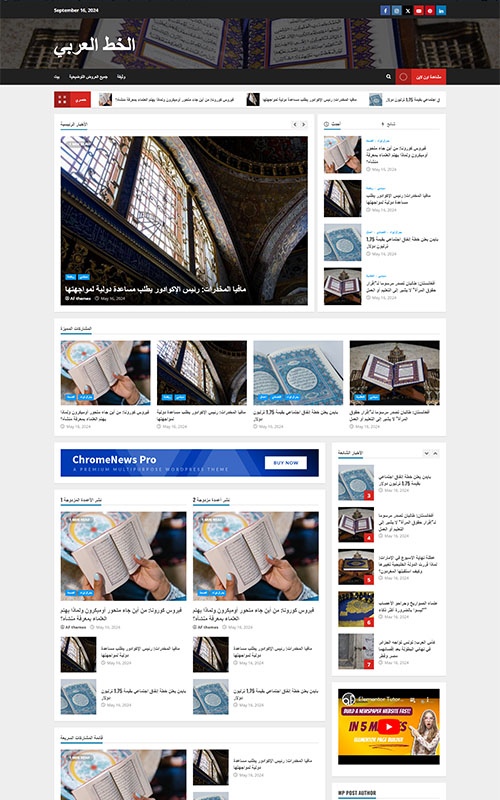
Are you looking to translate your AF Themes Site into another language? Whether you’re running a multilingual website or want your site in your preferred language, the Loco Translate plugin is one of the easiest tools to use. This guide will walk you through translating your WordPress theme step-by-step, ensuring your site’s text speaks directly to your audience.
What is Loco Translate?
Loco Translate is a powerful WordPress plugin that allows you to translate themes and plugins directly from your dashboard. It provides an intuitive interface to edit translation files, making localization a breeze.
Why Use Loco Translate for Theme Translation?
- Easy to Use: No coding knowledge required.
- Integrated Workflow: Edit translation files directly in your WordPress dashboard.
- Compatibility: Works with most WordPress themes and plugins.
- Safe Storage: Save translations in the recommended location to prevent overwriting during updates.
Step-by-Step Guide to Translating Your Theme
Follow these steps to translate your AF themes using the Loco Translate plugin:
1. Install and Activate Loco Translate
- Log in to your WordPress dashboard.
- Navigate to Plugins > Add New.
- Search for “Loco Translate.”
- Click Install Now, then Activate.
2. Access Loco Translate
- Once installed, go to Loco Translate > Themes in your WordPress dashboard.
- You’ll see a list of installed themes.
3. Select Your Theme
- Click on the theme you want to translate.
4. Add a New Language
- On the theme’s translation page, click New Language.
- Choose your target language:
- Select a language from the WordPress language list (e.g., French, Spanish, German).
- Pick where to save the translation file:
- System location (
wp-content/languages/themes) is recommended to prevent overwrites during theme updates.
- System location (
- Click Start Translating.
5. Translate Text Strings
- A list of text strings from your theme will appear.
- Locate the text you want to translate:
- Use the search bar to find specific phrases.
- Browse through the available strings.
- Click on a string to edit it.
- Enter your translation in the Translation field.
- Click Save to store your changes.
6. Verify Your Translations
- Visit your site’s front end to ensure the translations appear correctly.
- If changes don’t display:
- Clear your site’s cache.
- Refresh the page.
7. Update Translations After Theme Updates
- When your theme is updated, new text strings may be added.
- Return to Loco Translate > Themes, select your theme, and click Sync to update the string list.
- Translate the new strings as needed.
Best Practices for Using Loco Translate
- Backup Your Files: Regularly back up
.poand.motranslation files. - Save in the Correct Location: Use the System location to prevent overwrites during updates.
- Check for Missing Strings: Ensure your theme follows WordPress localization standards to display all strings in Loco Translate.
- Test Your Site: Always test your site after translating to verify accuracy.
Conclusion
Translating your WordPress theme with Loco Translate is an excellent way to make your website accessible to a global audience. By following this guide, you can localize your site’s text quickly and efficiently. Whether you’re creating a multilingual site or personalizing your theme’s language, Loco Translate has you covered.
Need more help? Feel free to reach out